· Rajasekhar Gundala · CICD · 7 min read
How to deploy Jenkins v2.426.2 in docker swarm behind Caddy v2.7.6
Jenkins is a popular open-source automation server written in Java. We can automate anything with it using plugins.

Welcome to TUNEIT. Today I am going to show you how to install or deploy Jenkins v2.426.2 (a leading open-source automation server written in Java) in Docker Swarm Cluster using the Docker Compose tool behind Caddy 2.7.6.
Jenkins is an automation server that we can automate anything with the help of plugins.
If you want to learn more about Jenkins, please go through the below links.
- Jenkins website
- Official documentation
- GitHub repository
Let’s start with actual deployment…
Prerequisites
Please make sure you should fulfill the below requirements before proceeding to the actual deployment.
- Docker Swarm Cluster with GlusterFS as persistent tool.
- Caddy as reverse proxy to expose micro-services to external.
Introduction
Jenkins is the leading open-source automation server built with Java. We can automate anything with the help of plugins.
We can use it to automate our development workflow. Jenkins is commonly used for below tasks.
- Build projects
- Running tests on the projects to detect bugs or errors or issues
- Analyses the code
- Deploy or delivery of the software
Jenkins uses pipeline functionality to achieve the above mentioned tasks. We can create and configure a pipeline project with Jenkinsfile or through Blue Ocean or through Classic UI or through SCM.
Persist Jenkins Data
Containers are fast to deploy and make efficient use of system resources. Developers get application portability and programmable image management and the operations team gets standard run time units of deployment and management.
With all the known benefits of containers, there is one common misperception that the containers are ephemeral, which means if we restart the container or in case of any issues with it, we lose all the data for that particular container. They are only good for stateless micro-service applications and that it’s not possible to containerize stateful applications.
I am going to use GlusterFS to overcome the ephemeral behavior of Containers.
I already set up a replicated GlusterFS volume to have data replicated throughout the cluster if I would like to have some persistent data.
The below diagram explains how the replicated volume works.
Volume will be mounted on all the nodes, and when a file is written to the
/mntpartition, data will be replicated to all the nodes in the Cluster

In case of any one of the nodes fails, the application automatically starts on other node without loosing any data and that’s the beauty of the replicated volume.
Persistent application state or data needs to survive application restarts and outages. We are storing the data or state in GlusterFS and had periodic backups performed on it.
Gitea will be available if something goes wrong with any of the nodes on our Docker Swarm Cluster. The data will be available to all the nodes in the cluster because of GlusterFS Replicated Volume.
I am going to create a folder woodpeckerdata in /mnt directory to map container volume /var/jenkins_home
cd /mnt
sudo mkdir -p jenkins-data
Please watch the below video for Glusterfs Installation
Prepare Jenkins Environment
I am going to use docker-compose to prepare the environment file for deploying Woodpecker. The compose file is known as YAML ( YAML stands for Yet Another Markup Language) and has extension .yml or .yaml
I am going to create application folders in
/optdirectory on manager node in our docker swarm cluster to store configuration files, nothing but docker compose files (.yml or .yaml).
Also, I am going to use the caddy overlay network created in the previous Caddy post.
Now it’s time to create a folder, woodpecker in /opt directory to place configuration file, i.e., .yml file for woodpecker.
Use the below commands to create the folder.
Go to /opt directory by typing cd /opt in Ubuntu console
make a folder, jenkins in /opt with sudo mkdir -p jenkins
Let’s get into jenkins folder by typing cd jenkins
Now create a docker-compose file inside the woodpecker folder using sudo touch jenkins.yml
Open jenkins.yml docker-compose file with nano editor using sudo nano jenkins.yml and copy and paste the below code in it.
Jenkins Docker Compose
Here is the docker-compose file for jenkins.
version: "3.7"

services:
  jenkins:
    image: tuneitme/jenkins
    volumes:
      - /mnt/jenkins-data:/var/jenkins_home
      - /var/run/docker.sock:/var/run/docker.sock
    networks:
      - caddy
    deploy:
      placement:
        constraints: [node.role == worker]
      replicas: 1
      update_config:
        parallelism: 2
        delay: 10s
      restart_policy:
        condition: on-failure

volumes:
  jenkins:
    driver: "local"
networks:
  caddy:
    external: true
Caddyfile – Jenkins
The Caddyfile is a convenient Caddy configuration format for humans.
Caddyfile is easy to write, easy to understand, and expressive enough for most use cases.
Please find Production-ready Caddyfile for Woodpecker.
Learn more about Caddyfile here to get familiar with it.
{
    email you@example.com
    default_sni jenkins
    cert_issuer acme
    # Production acme directory
    acme_ca https://acme-v02.api.letsencrypt.org/directory
    # Staging acme directory
    #acme_ca https://acme-staging-v02.api.letsencrypt.org/directory
    servers {
        metrics
        protocols h1 h2c h3
        strict_sni_host on
        trusted_proxies cloudflare {
            interval 12h
            timeout 15s
        }
    }
}
jenkins.example.com {
    log {
        output file /var/log/caddy/jenkins.log {
        roll_size 20mb
        roll_keep 2
        roll_keep_for 6h
        }
        format console
        level error
    }
    encode gzip zstd
    reverse_proxy jenkins:8080
}
Please go to Caddy Post to get more insight to deploy it in the docker swarm cluster.
Final Jenkins Docker Compose (Including caddy server configuration)
Please find the full docker-compose file below. You can deploy as many sites as you want using it.
I already wrote an article Caddy in Docker Swarm. Please go through if you want to learn more.
version: "3.7"

services:
  caddy:
    image: tuneitme/caddy
    ports:
      - "80:80"
      - "443:443"
    networks:
      - caddy
    volumes:
      - ./Caddyfile:/etc/caddy/Caddyfile
      - /mnt/caddydata:/data
      - /mnt/caddyconfig:/config
      - /mnt/caddylogs:/var/log/caddy
      - /mnt/jenkins-data:/var/jenkins_home
    deploy:
      placement:
        constraints:
          - node.role == manager
      replicas: 1
      update_config:
        parallelism: 2
        delay: 10s
      restart_policy:
        condition: on-failure
  jenkins:
    image: tuneitme/jenkins
    volumes:
      - /mnt/jenkins-data:/var/jenkins_home
      - /var/run/docker.sock:/var/run/docker.sock
    networks:
      - caddy
    deploy:
      placement:
        constraints: [node.role == worker]
      replicas: 1
      update_config:
        parallelism: 2
        delay: 10s
      restart_policy:
        condition: on-failure
volumes:
  caddydata:
    driver: "local"
  caddyconfig:
    driver: "local"
  caddylogs:
    driver: "local"
  jenkins-data:
    driver: "local"
networks:
  caddy:
    external: true
Here I used a custom Caddy docker container with plugins, like Cloudflare DNS, Caddy Auth Portal etc…
Also I built custom Jankins contains with Blue Ocean plugin.
Please find the custom docker images links below.
Deploy Jenkins Stack using Docker Compose
Now it’s time to deploy our docker-compose file above, jenkins.yml using the below command
docker stack deploy --compose-file jenkins.yml jenkins
In the above command, you have to replace jenkins.yml with your docker-compose file name and jenkins with whatever name you want to call this particular application.
With docker compose in docker swarm what ever we are deploying is called as docker stack and it has multiple services in it as per the requirement.
As mentioned earlier I named my docker-compose as jenkins.yml and named my application stack as jenkins.
Check the status of the stack by using docker stack ps jenkins
Check jenkins stack logs using docker service logs jenkins_jenkins
One thing we observe is that it automatically re-directs to https with Letsencrypt generated certificate. The information is stored in /data a directory.
I will be using this
caddy stackas a reverse proxy / load balancer for the applications I am going to deploy to Docker Swarm Cluster.
Also I used docker network
caddyto access the applications externally.
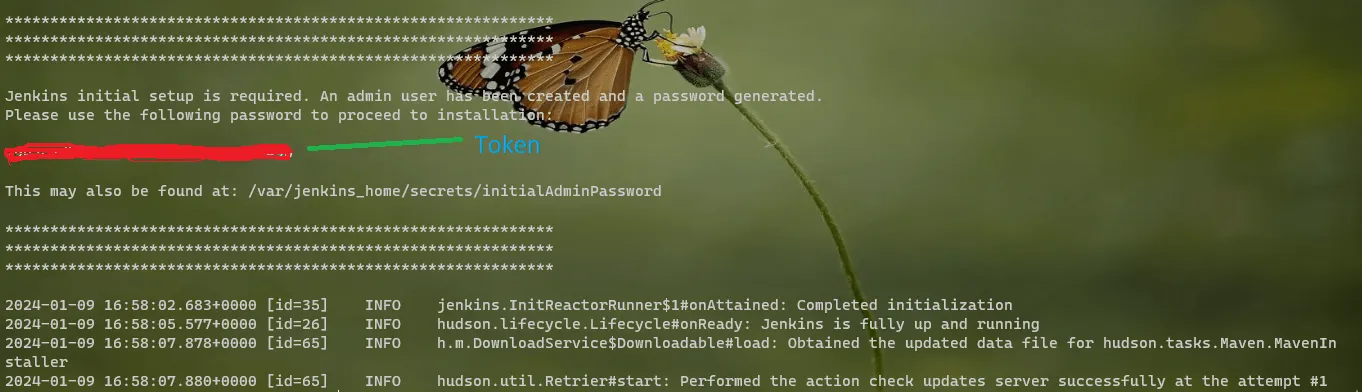
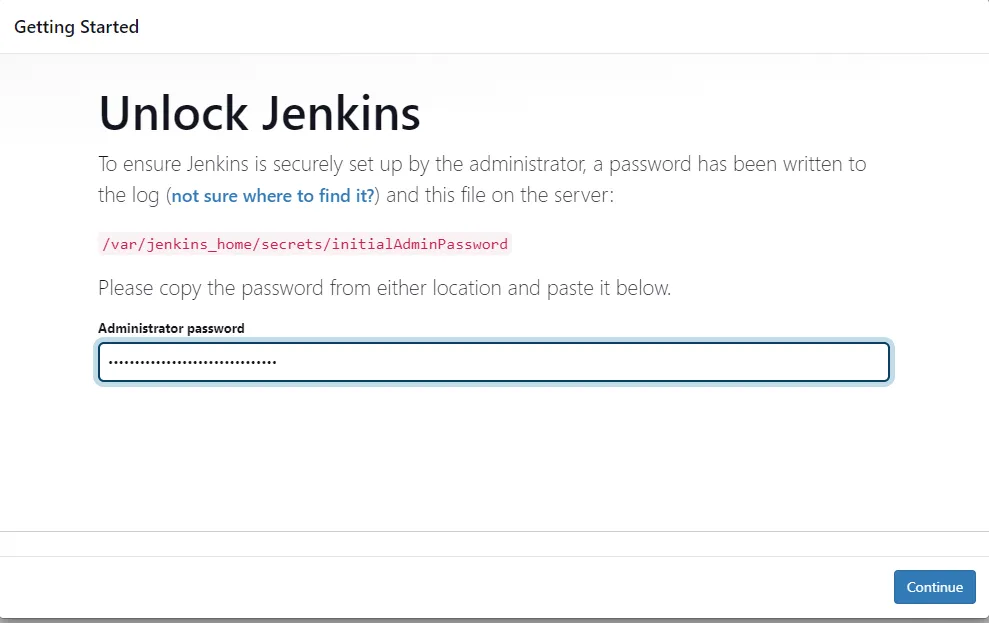
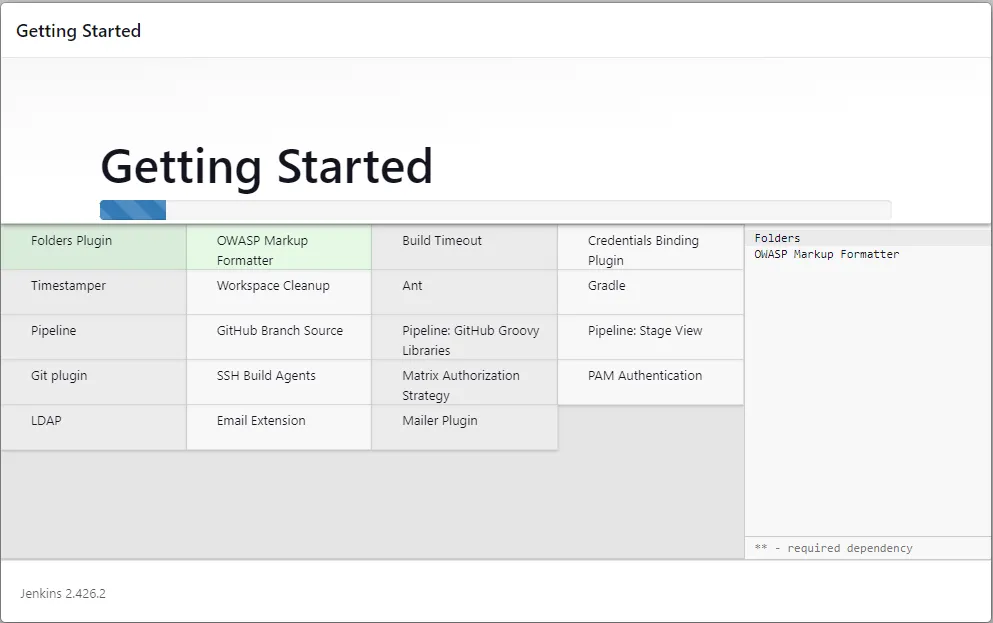
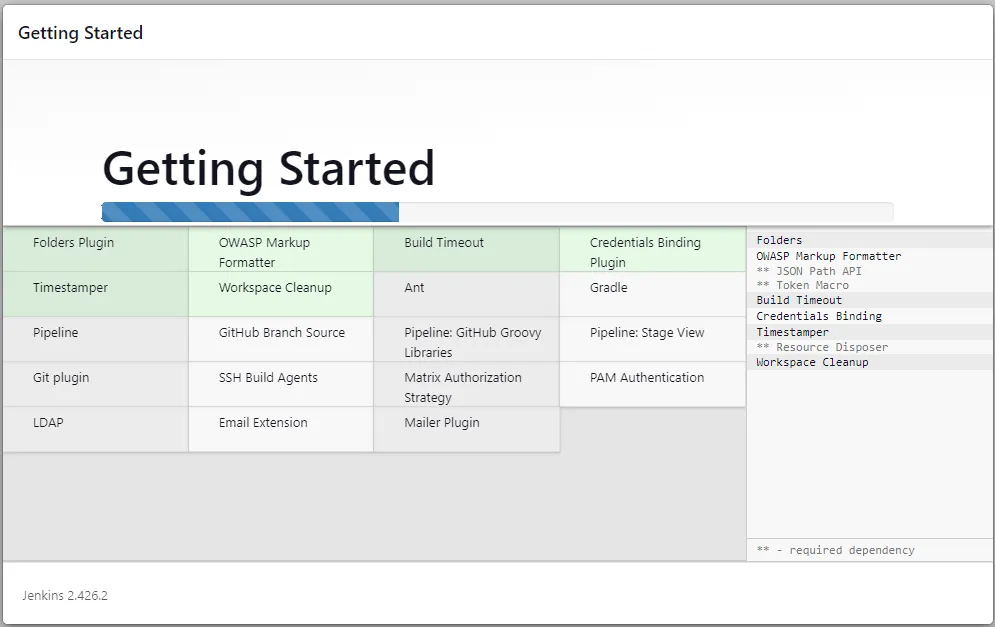
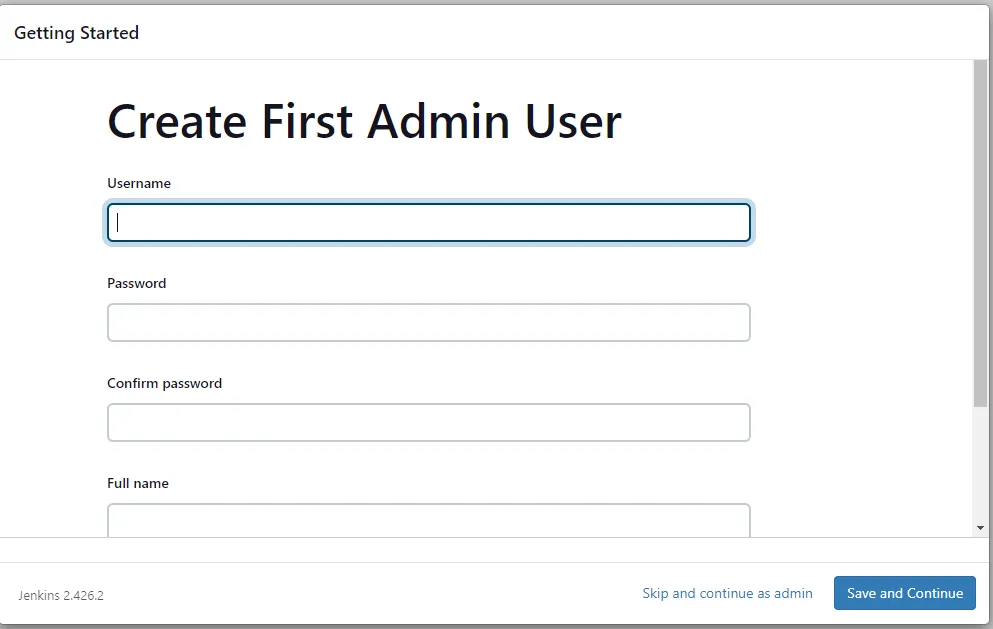
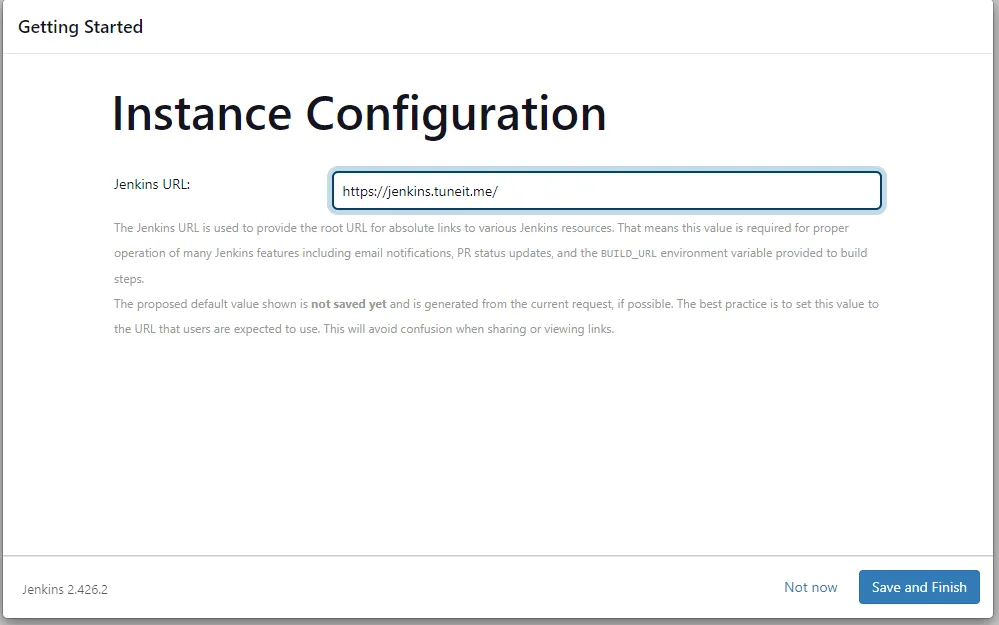
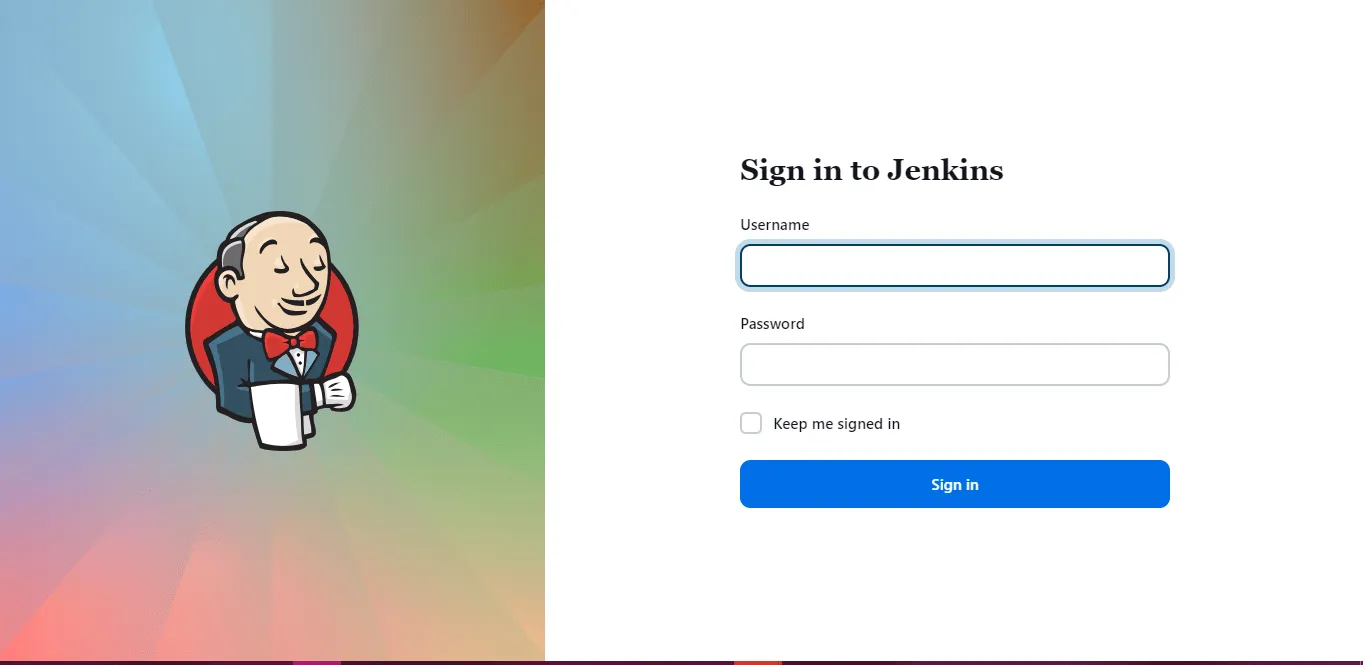
Access / Configure Jenkins
Now open any browser and type jenkins.example.com to access the site and configure it.
Make sure that you have DNS entry for your application (
jenkins.example.com) in your DNS Management Application.
Please find below images for your reference. Click on them to open in lightbox for full resolution.
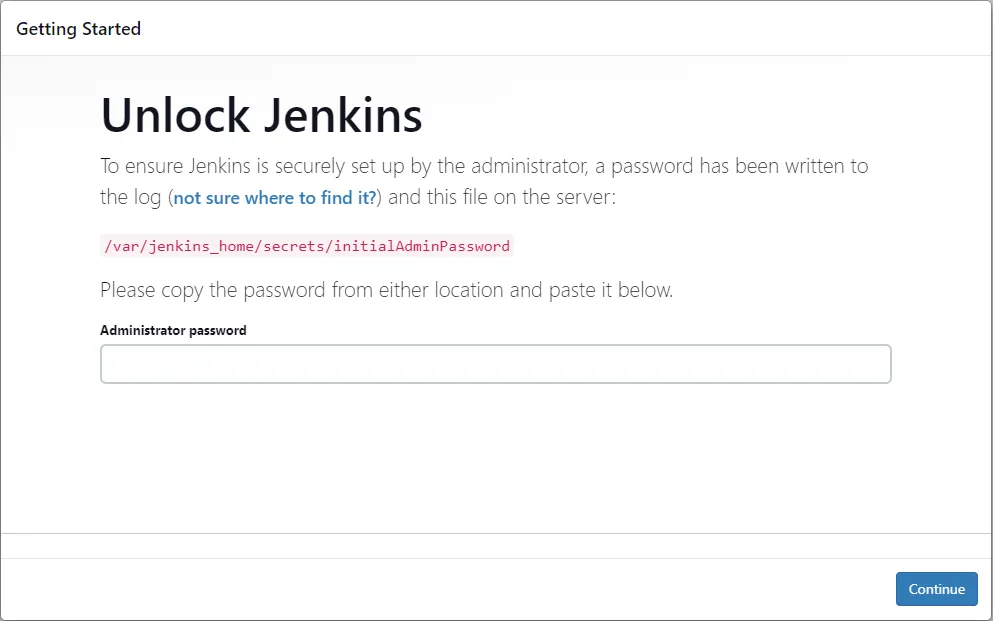
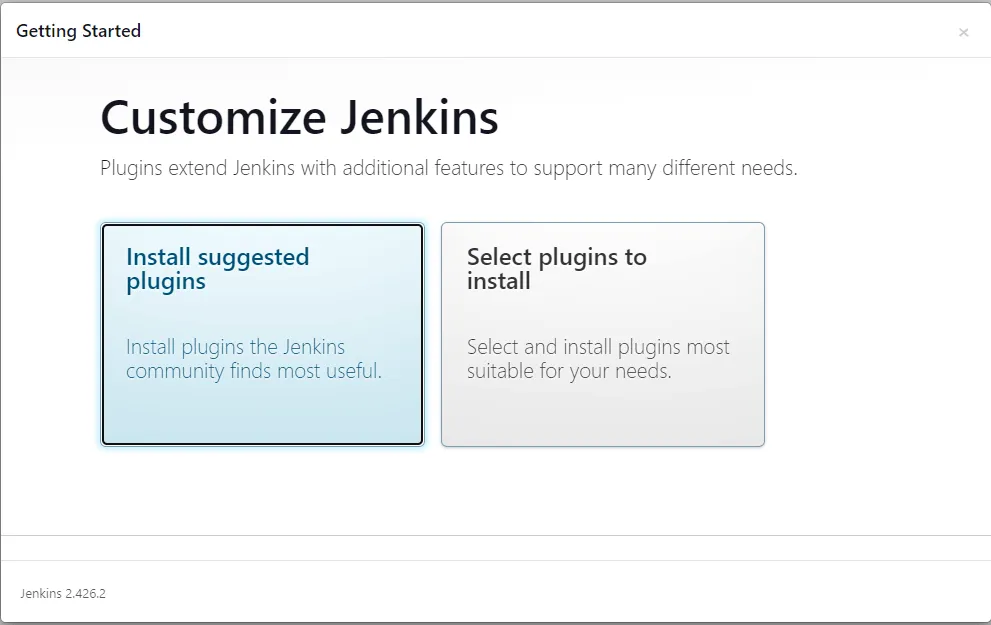
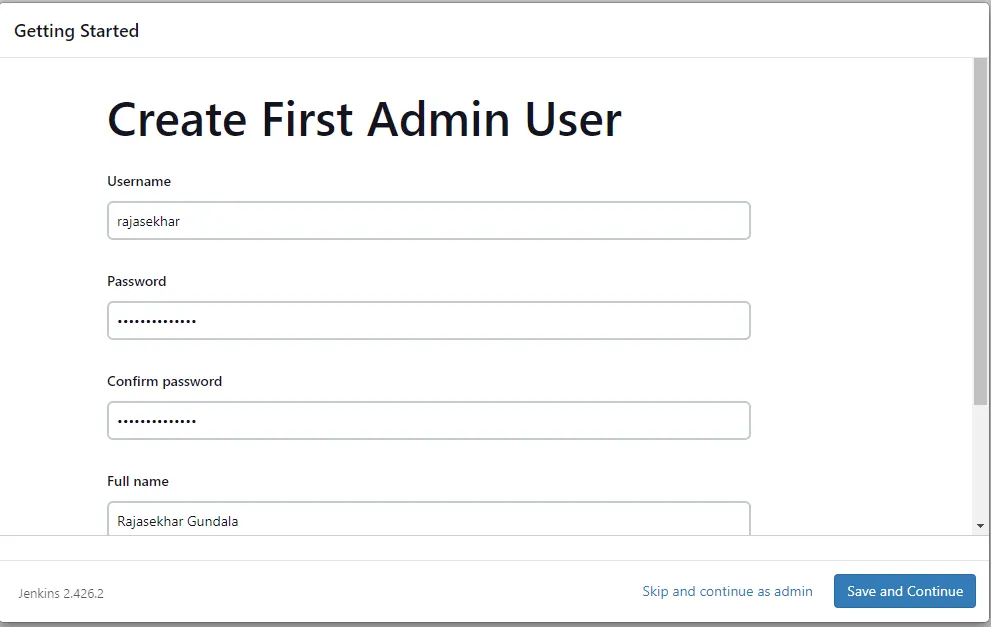
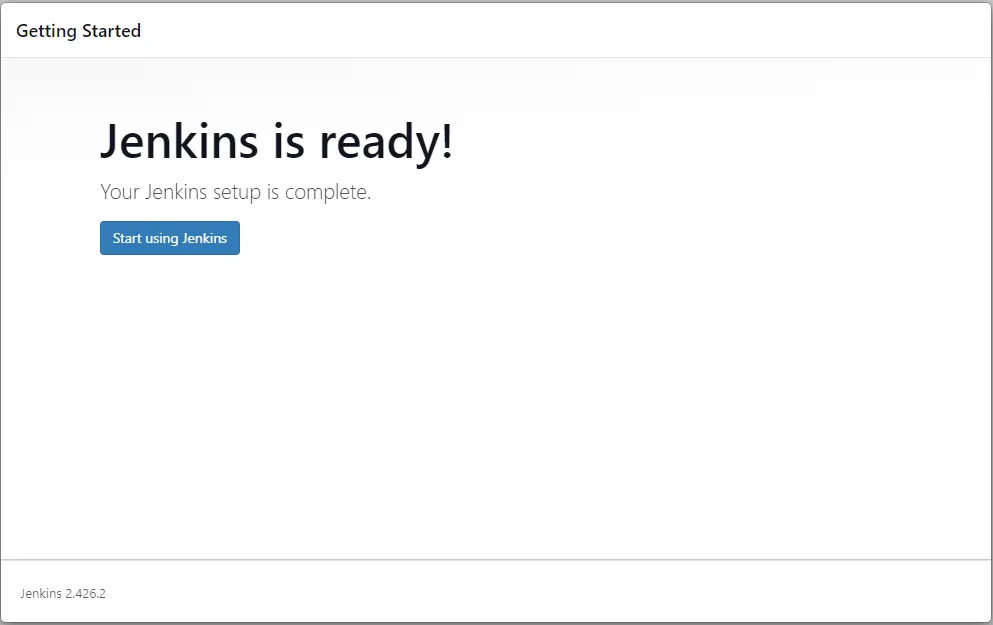
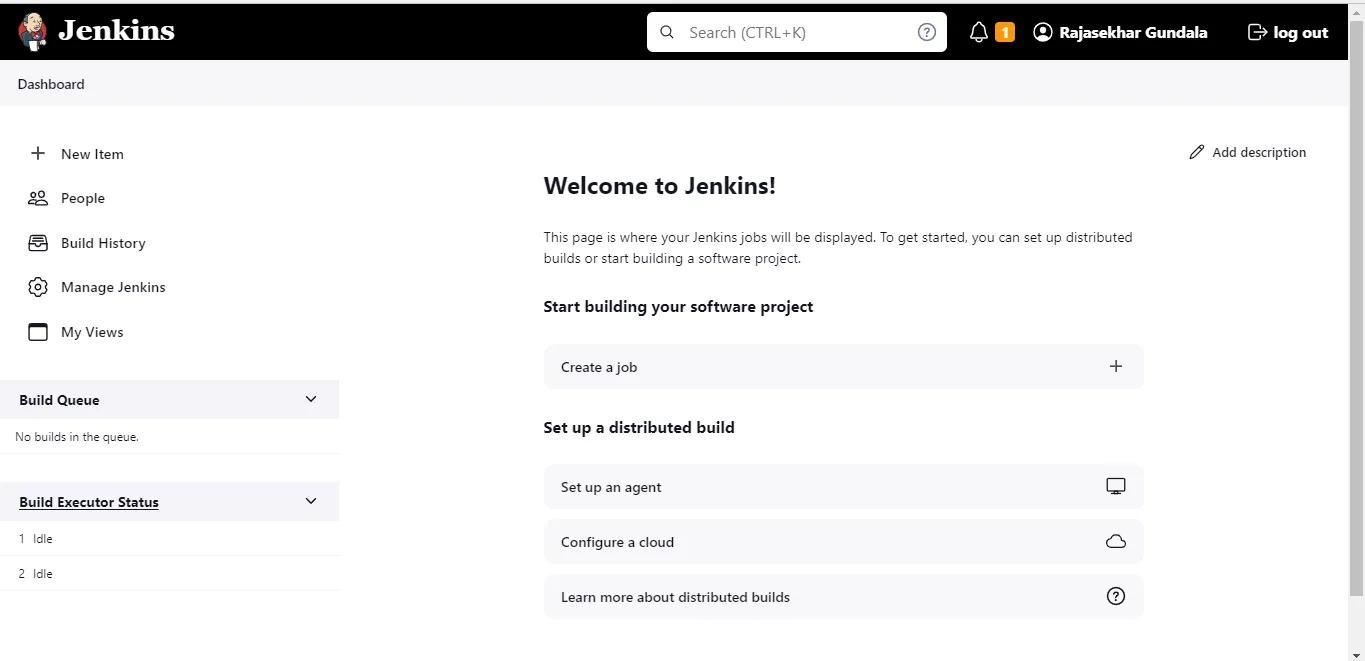
Install or Deployment of Jenkins behind Caddy Reverse Proxy in our Docker Swarm is successful
I hope you enjoyed the reading it and gained some knowledge on how to install it in docker swarm environment.
If you enjoyed this tutorial, please give your input/thought on it by commenting below. It would help me to bring more articles that focus on Open Source to self-host.
Stay tuned for other deployments in coming posts… 🙄